

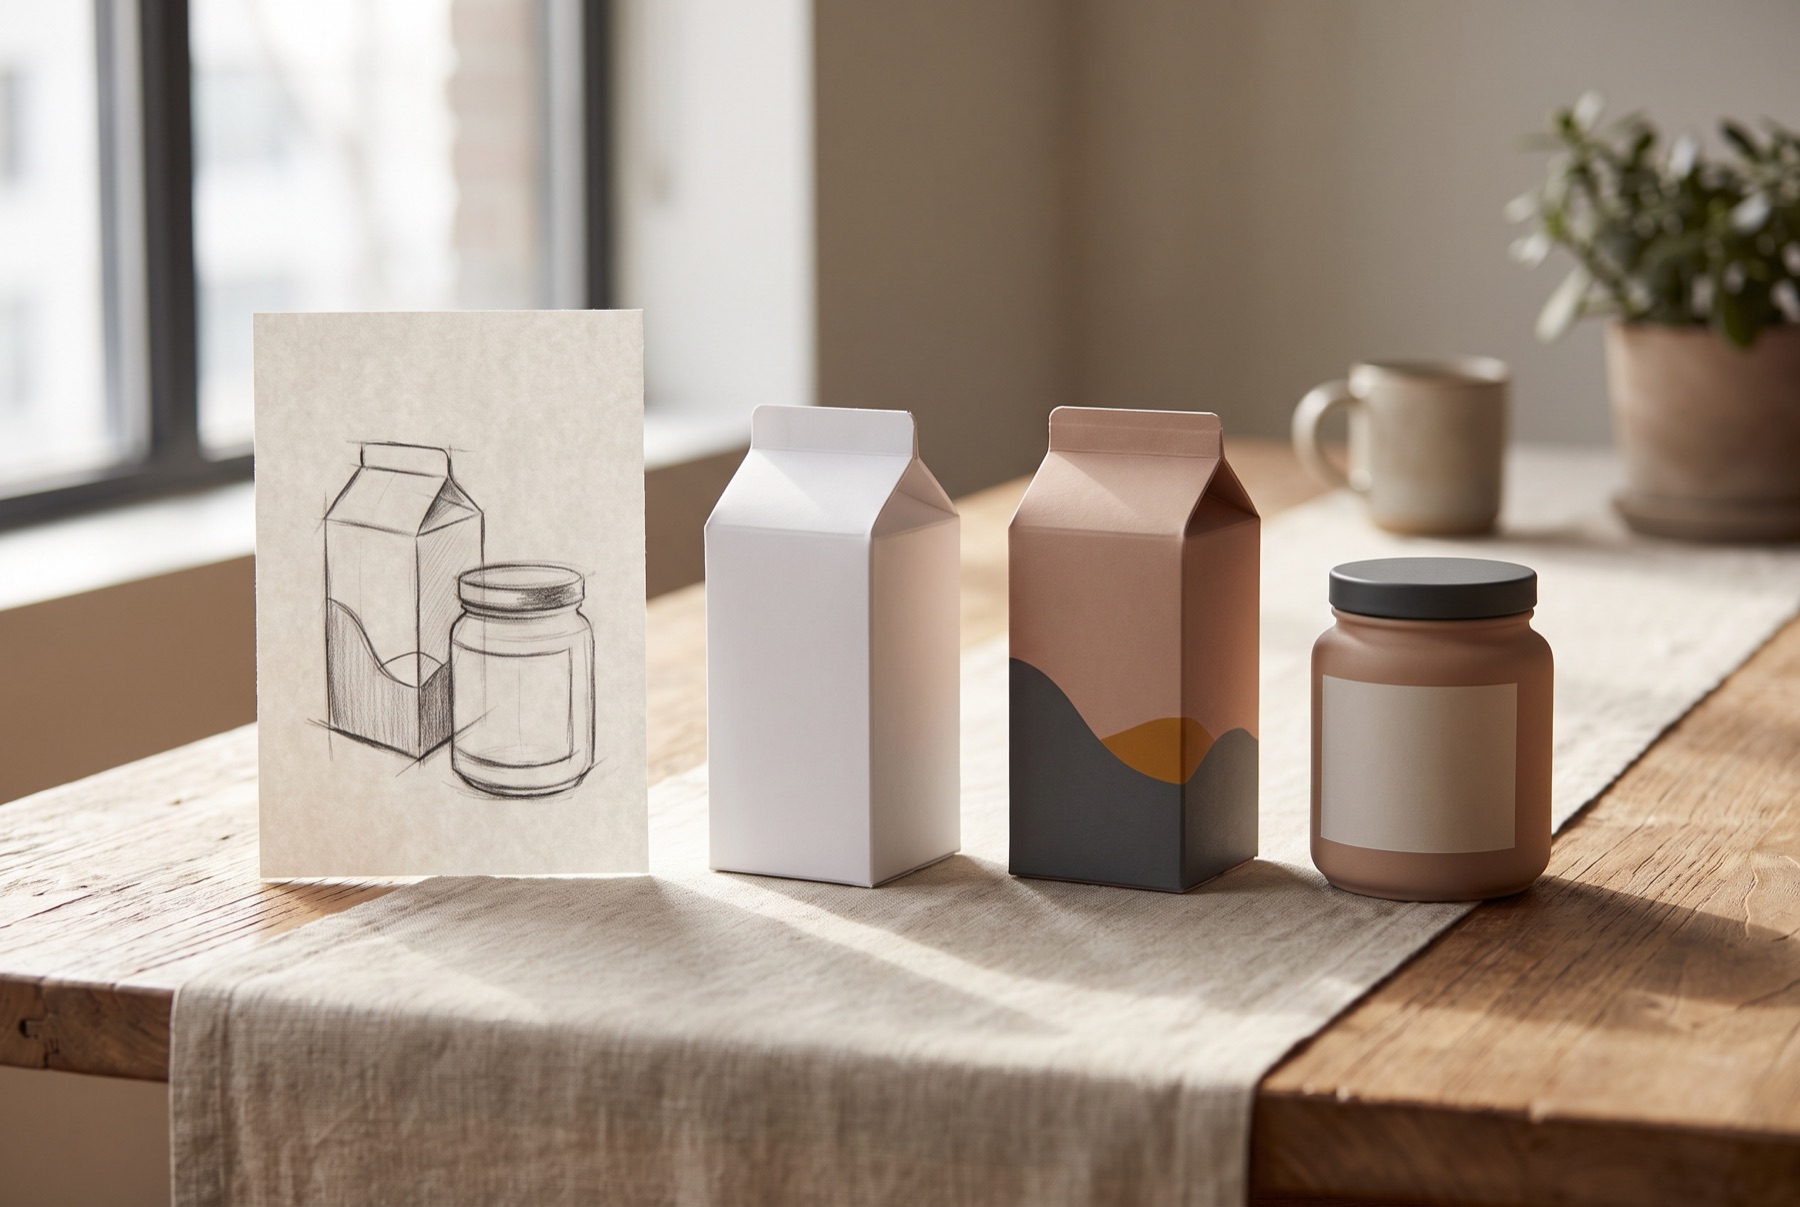
Most product launches that struggle do not struggle because the product is bad. They struggle because things happened in the wrong order — packaging printed before costs were known, a retailer pitched before the brand could explain itself, a launch date set before the supply chain could hit it.
There is no single correct path, but there is a sensible sequence. This is the one we see work most often for food, beverage, beauty and household brands.
1. Validate before you design
Before any logo exists, be able to answer three questions in plain language:
- Who is it for? Not “everyone who likes snacks”. A specific person with a specific reason to switch.
- What does it replace? Every new product takes a slot from something else in a basket or a cupboard. Know what you are displacing.
- Why would they pay your price? Work out your landed cost and the retail price you need. If the margin only works at a price nobody will pay, find out now.
Talk to potential customers. Put a rough version in front of people. Look hard at what is already on shelf. This is cheap compared with everything that follows.
2. Define the brand before the packaging
Packaging is where the brand gets expressed, but it is not where the brand gets decided. Settle your positioning, name, tone of voice and the one thing you want people to remember. With that in place, packaging decisions become far easier, because there is something to judge them against.
3. Lock the product and the format
Formulation, pack size, structure and materials affect cost, shelf life, shipping and how the artwork has to work. Get firm answers from your manufacturer or co-packer on:
- Minimum order quantities for product and packaging
- Lead times for each
- The exact container or structure, with a dieline
- Any regulatory requirements for your category’s labelling
Designing artwork before the container is confirmed is one of the most common and most expensive mistakes we see.
4. Design the packaging as a system
Even if you are launching with one product, design as if you will have five. Decide how flavours or variants will be distinguished, where the brand sits, and how the range will look side by side. It is far cheaper to plan the architecture now than to retrofit it later.
Then test the front panel at real size, on a shelf, next to competitors. If it does not read in a couple of seconds, it is not finished.
5. Build the launch assets
Alongside packaging you will need, at minimum:
- Product photography — clean pack shots and a few lifestyle images
- A website that can take orders or at least capture interest
- A one-page sell sheet for buyers, with pricing, case pack and margins
- Social profiles with enough content that they do not look abandoned
6. Choose your first channel deliberately
Direct-to-consumer, a few local independents, a regional grocer, a marketplace — each has different economics and asks different things of your brand. Starting narrow and doing it well usually beats launching everywhere at once and restocking nowhere.
7. Plan the launch, not just the launch day
A launch is a few months of momentum, not a single post. Line up press outreach, creator seeding, in-store demos, an email sequence for anyone who signed up early, and a plan for reviews. Give each of them a date.
8. Plan for the second order
The real test of a launch is the reorder. Know your sell-through targets, have stock and packaging available to restock quickly, and listen closely to the first customers. The feedback in the first ninety days is the cheapest research you will ever get.
The short version
Validate the idea, define the brand, fix the format, design the system, build the assets, pick one channel, plan a season rather than a day, and be ready to restock. Brands like Zia Nina earned their shelf space by being clear about who they were — authentic Italian sauces, told through vintage illustration and honest messaging — before a single jar was printed.
If you are somewhere in this sequence and want help with the brand or packaging steps, tell us about it.